DoorThreshold
ThresholdTự động tính toán và đặt các thanh nẹp cửa (threshold) hoặc gờ hoàn thiện phân tách giữa hai vật liệu sàn tại vị trí các cửa đi.
Quick Workflow
Khởi chạy DoorThreshold trên tầng mong muốn.
Chọn Family nẹp cửa và quy tắc tính khoảng giật mép khung cửa.
Bấm Apply để công cụ tự động đặt nẹp chính xác cho mọi cửa trên mặt bằng.
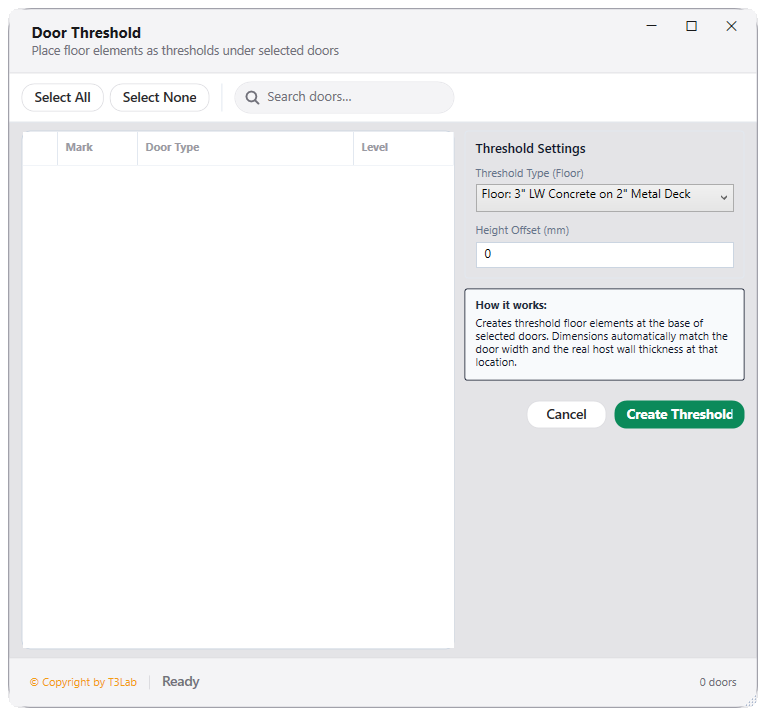
Interface Preview
Detailed Documentation
Door Threshold - User Guide & Reference
The Door Threshold utility (Finishes category) Finishes floor threshold modeling utility. Automatically generates floor threshold elements (e.g. floor finishes or stone thresholds) directly under selected doors by reading door width, wall thickness, and door center references..
1. Overview & Key Capabilities
The Door Threshold tool is designed to improve workflow efficiency by automating standard tasks. Key capabilities include:
- Finishes floor threshold modeling utility.
- Automatically generates floor threshold elements (e.g.
- floor finishes or stone thresholds) directly under selected doors by reading door width, wall thickness, and door center references.
2. Detailed Step-by-Step Usage
Follow these instructions to use the tool in your active Revit session:
- Open the Door Threshold tool.
- Select one or more door instances in a plan view.
- Configure threshold settings: floor type (e.g., marble threshold), depth extension, width extension, and level offsets.
- Click Create Threshold to model finish floor slabs directly under the door frames.
3. Technical Specifications & Under the Hood
Revit API Integration
- Key API Components: Room boundary extraction (
SpatialElementBoundaryOptionsset to finish face), profile offset calculations, and slab creation. - Transaction Handling: All modifications are packaged into a single Revit API transaction. If any error occurs, the changes are rolled back automatically to preserve model integrity.
[!TIP] Best Practice Tip: Use room boundary finishes offsets to automatically account for baseboards and plastering thickness in room finish floor slabs.